


As many of you know I love making and eating pies (and galettes) so I figured it was about time that I share with you my pie crust recipe, along with a little video to show you just exactly how to never again fail at making pie crust.
Homemade pie crust was my arch nemesis for quite a while but a few years ago, after my classes in baking at culinary school along with an afternoon pie baking session with friend who is also a professional baker, I found my rhythm. Maybe I just needed a lot of practice, or to hear the same tricks over and over again, I’m not sure, but I finally got comfortable with pie crust. Now, I love making it. I enjoy it so much that I feel like I could whip up this pie dough in a matter of minutes. So, eating pie is always just a few simple steps away.
About this Recipe
• ALWAYS use cold butter and ice cold water. This is the secret to making a flaky pie crust. The cold butter will create little pockets of air when the dough is baking, forming layers in the crust. In between every step, to ensure that the butter is cold, refrigerate the crust. Refrigerate the butter after you grate it, refrigerate the crust after the dough is formed into a ball and refrigerate again before its baked off.
• Grate the butter and refrigerate before mixing it into the flour mixture. This is just my little way of getting the butter into small just still chunky parts. It ensures for some butter throughout the dough but also prevents you from having to handle the butter much as you might if you were cutting it into small pieces or using your hands to break into up into pea sized granules. The grater basically does this for you.
• All purpose flour works best for a traditional pie crust but whole wheat pastry flour also works really well in this recipe.
• I use both salt and sugar in my crust for a salty and slightly sweet flavor. I also usually use salted butter even with the added salt. That’s just a personal preference.
• Handle the dough as quickly and efficiently as possible with your hands. Since you’re hands tend to warm up the dough (and thus the butter too) you don’t want to knead or mix the dough for too long… just long enough to get the dough formed into a ball.
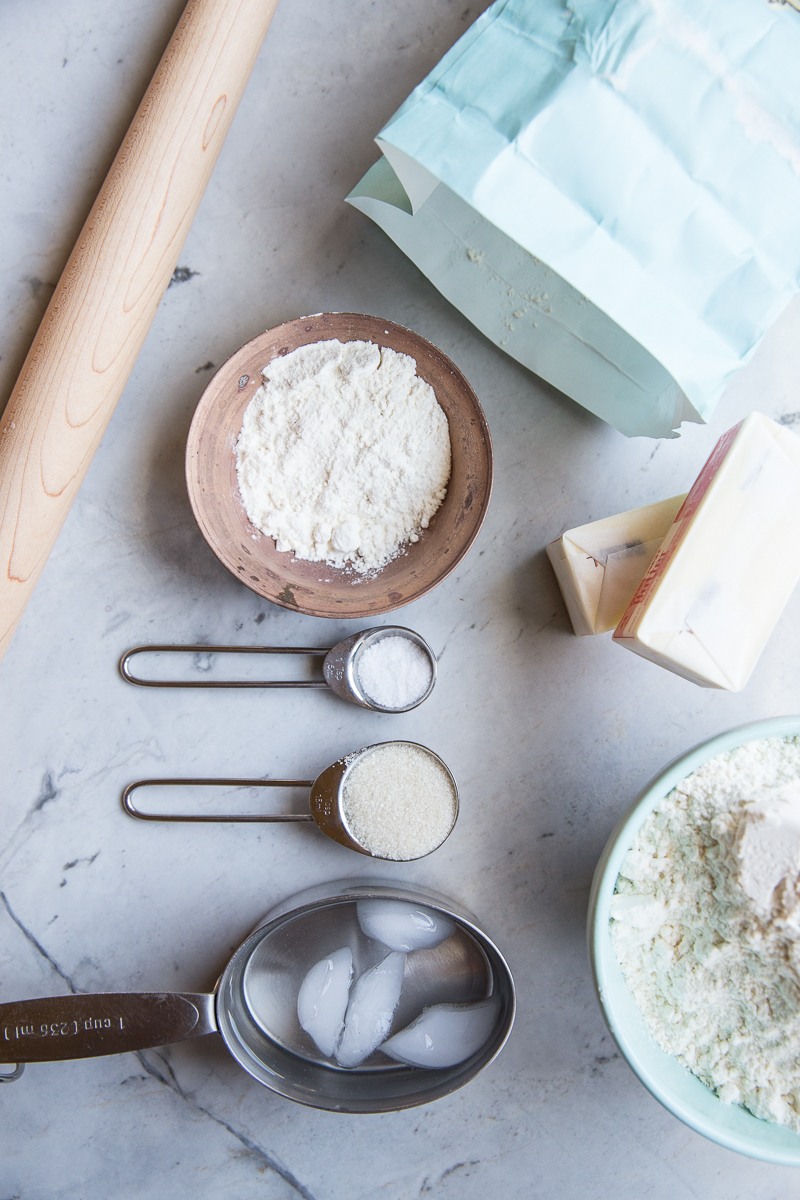
Ingredients
Method
- With butter straight from the fridge, use a cheese grater to grate the butter into small pieces onto a bendable cutting board or large plate. Place grated butter back into the fridge.
- Measure out water and place a couple ice cubes in it. Set aside.
- In a large bowl whisk together the flour, sea salt and sugar. Use a table knife to scrape the cold butter off the cutting board and into the flour mixture. Using your hands, toss the small pieces of butter in the flour mixture. This should coat the butter in flour.
- Add in the water (using only 3/4 of a cup if your ice cube has melted). Use a fork to mix together the water into the butter/flour mixture. There should still be large bits of butter but the mixture should come together into a large ball. Use your hands to get the flour in the bottom of the bowl into the dough. Knead the dough inside the bowl a few times, just to get all of the flour incorporated. (You may need a tablespoon or so more of water or flour).
- Split the dough ball in half and wrap each ball tightly in plastic wrap. Press the ball down gently into a disk then refrigerate for at least 20 minutes, overnight, or freeze until ready to use.
- When you're ready to roll out your dough, let your dough ball sit out at room temp just for 5 minutes. Meanwhile, get out a large cutting board or wood surface and a small bowl of flour. Lightly dish the cutting board with flour. Unwrap the dough and sprinkle both sides with flour.
- Roll out the dough with the rolling pin rotating the circle and flipping frequently. Sprinkle with flour every time you flip the dough over. Press in the edges to keep a circle shape. Once it is about 13 inches in diameter fold the dough in half then in half again (so it's a triangle shape).
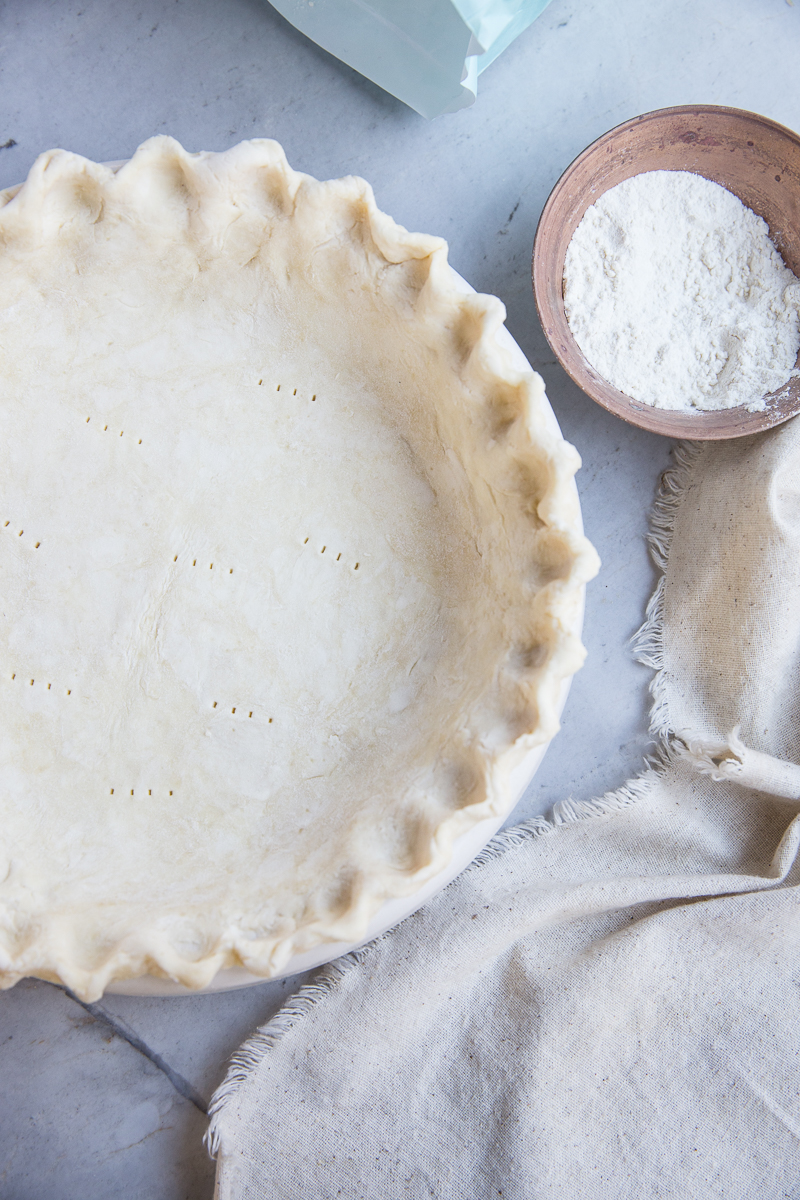
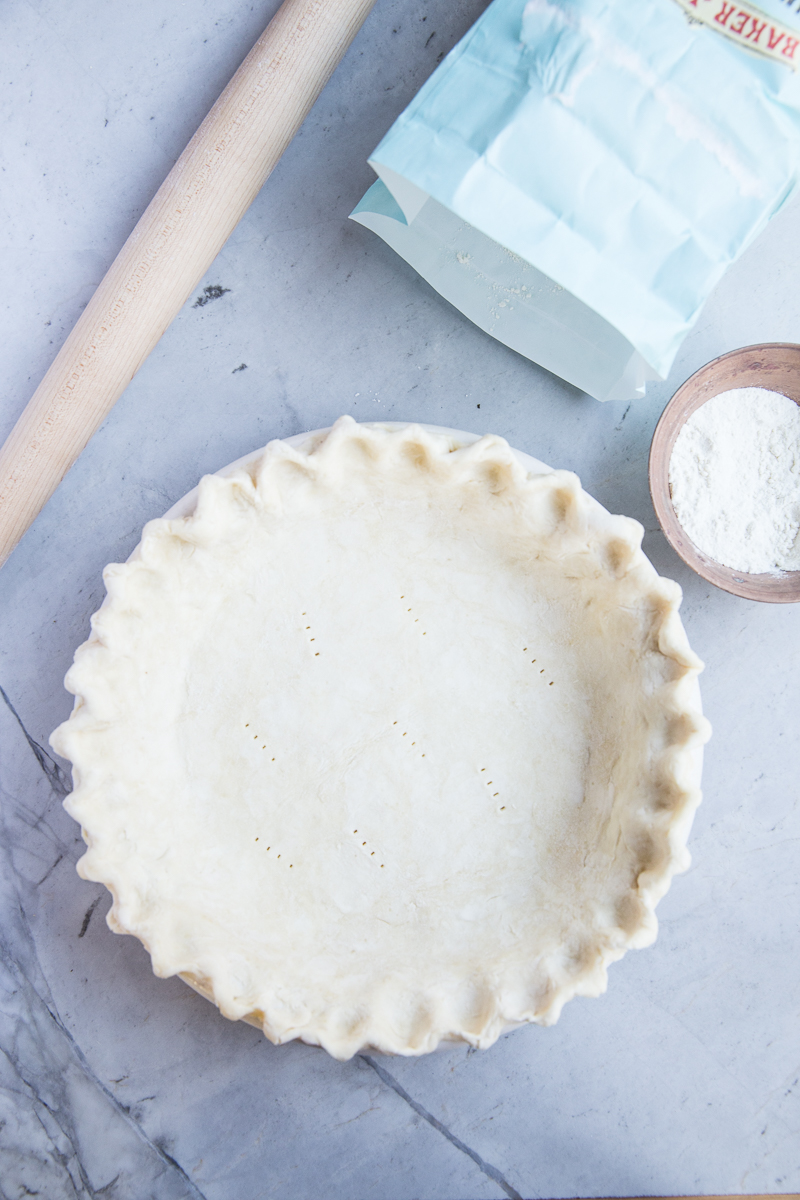
- Transfer this dough to the pie plate and unfold. Roll the excess dough that's hanging over the edges under, then, crimp the edges using two fingers around your knuckle or use a fork to press lines around the edge of the crust. Use a fork to poke 5-6 times in the bottom of the crust. Refrigerate for 1 hour before filling and baking. Brush with an egg wash around the edges of the dough before baking.
Notes
My favorite pie and galette recipes
Savory Galettes
Great tips. I hat making pastry crust. I will usually ask my mom to make up batches for the freezer whenever she is here. 🙂 Happy Thanksgiving!
Debra, It’s so wonderful to hear from you! It’s been a while. I also hated making pie crust for so long. I would always make cookie crumb crusts instead 🙂 It’s fun to finally have figured it out! Happy holiday season!